
09 How To Preserve Wedding Guestbook Memories After The Ceremony
How to Preserve Wedding Guestbook Memories After the Ceremony
Preserving a wedding guestbook is about protecting paper, ink, photographs, and any attached keepsakes while making the book easy enough to revisit that it does not disappear into storage.
Wedding guestbooks have changed from simple signature books into flexible memory pieces that can hold notes, photographs, advice, and pieces of the reception itself. That flexibility is useful, but it also means couples need to make a few decisions before ordering or setting up the table.
This guide focuses on preserve wedding guestbook from a practical planning perspective. The goal is not to follow a rule for its own sake, but to choose an approach that fits your guest count, wedding style, and the way you hope to remember the day afterward.
Let adhesives and ink settle before packing
After the reception, avoid immediately compressing pages that contain freshly attached photos or heavily inked messages. Give the book a chance to dry and check for loose items.
Think through this choice from the user’s point of view. What feels obvious while you are planning may be less obvious to a guest encountering it for the first time in a busy room. Clear visual cues and a straightforward setup usually matter more than adding another decorative detail.
Keep it away from moisture and direct sunlight
Long-term exposure to humidity, heat, or bright light can affect paper, ink, photographs, and cover materials. Store the book in a stable indoor environment.
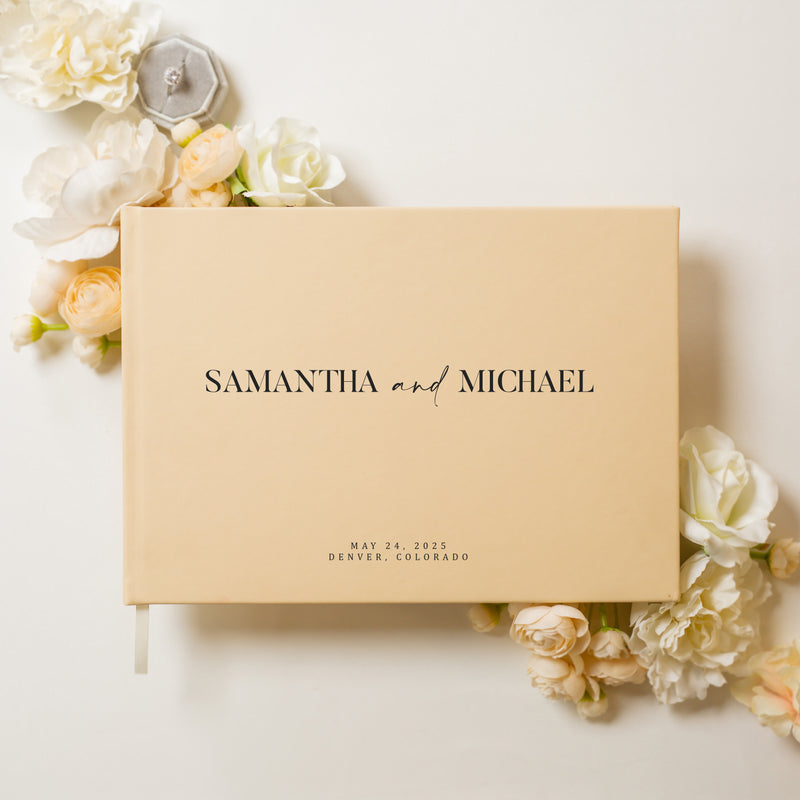
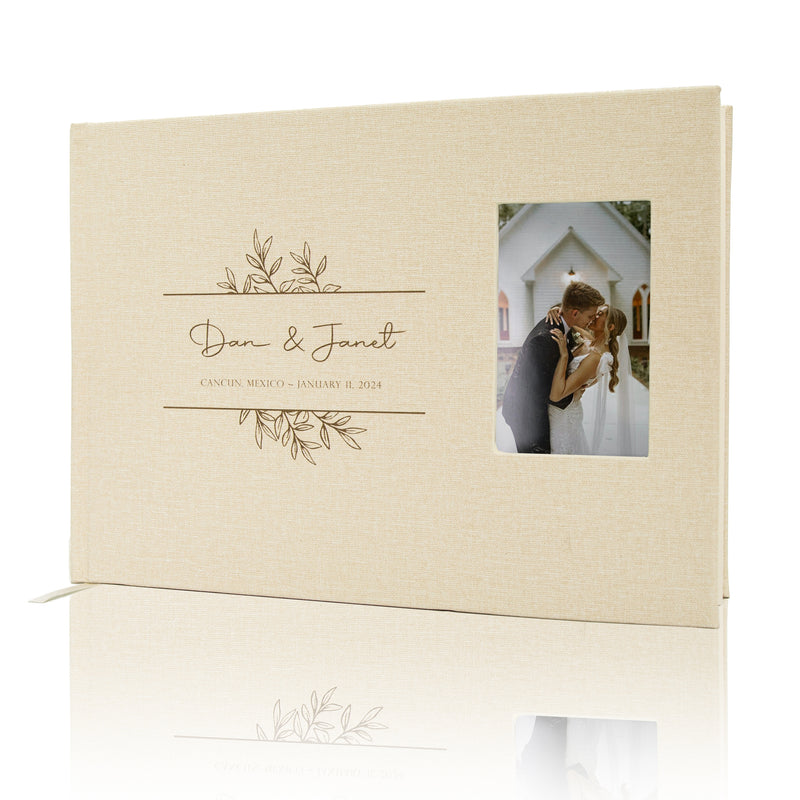
If your guestbook includes photos, a personalized blank-page wedding guestbook and personalized linen photo-slot guestbook
Build in a little extra capacity. Weddings rarely unfold with perfect efficiency, so spare space, backup supplies, and a flexible layout can prevent a small planning assumption from becoming an event-day problem.
Add loose wedding pieces thoughtfully
Invitations, menus, vows, pressed flowers, photo-booth strips, and cards can make the guestbook more meaningful, but avoid overstuffing a bound book that was not designed for bulky objects.
Before committing, make a quick mock-up with the real dimensions or supplies. A five-minute test can reveal whether there is enough writing room, whether the wording is readable, or whether the item will feel awkward once other wedding details are placed around it.
Create a digital backup
Photograph or scan important pages. A digital copy is useful for sharing and gives you a record if the original is ever damaged.
Try not to solve a functional problem with decoration. First make the item easy to use and understand; then add the styling choices that make it feel personal to the couple.
Store it where you can access it
A shelf, memory cabinet, or larger keepsake box is better than a hard-to-reach garage bin. The goal is preservation and continued enjoyment.
Consistency also helps. Repeating one or two decisions—such as typography, personalization style, or a simple color family—creates cohesion without requiring every wedding piece to match exactly.
Make participation easy
Guests are more likely to contribute when the activity is obvious and supplies are ready. Think through the physical experience from the guest’s point of view: where they stand, what they pick up, what they write, and where the completed page or photo goes.
Keep the decision simple by identifying the one outcome that matters most, then remove anything that does not support it. Wedding details are easier to execute when each item has a clear job.
Plan for the book after the reception
The strongest guestbook choices work twice: once as part of the event and again as a keepsake at home. Consider how the cover, page layout, and size will feel on a shelf years after the wedding.
Keep the decision simple by identifying the one outcome that matters most, then remove anything that does not support it. Wedding details are easier to execute when each item has a clear job.
A practical checklist before you decide
- Confirm the expected guest count or household count.
- Decide whether guests will write only, add photos, or do both.
- Test your preferred pens and photo adhesive on the actual paper.
- Choose a visible location and prepare a short instruction sign.
- Plan where the finished guestbook will be stored after the wedding.
Common mistakes to avoid
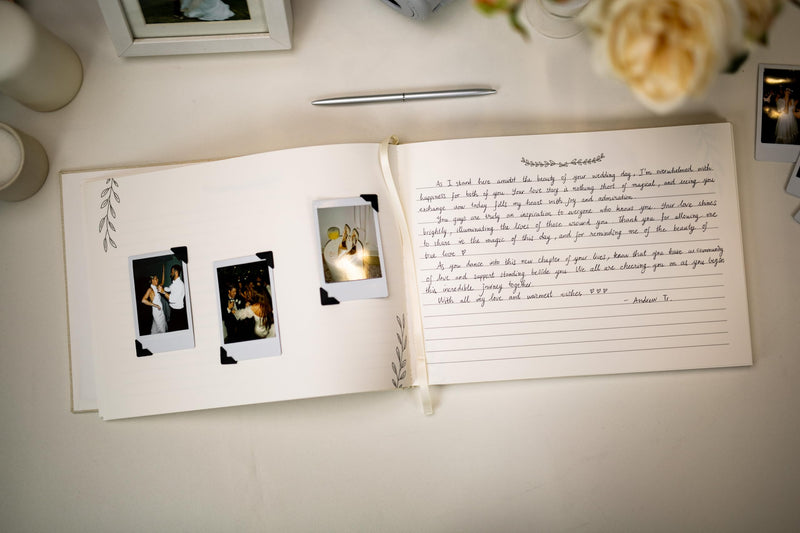
The most common problems are hiding the guestbook in a low-traffic corner, underestimating the space instant photos need, using pens that bleed or smear, and giving guests too many instructions. Simpler usually performs better.
Frequently asked questions
Should I laminate guestbook pages?
Usually not. Lamination permanently changes the pages and can complicate future preservation. A protective storage environment is generally a better choice.
Can I add professional wedding photos later?
Yes. Blank pages are ideal for turning the guestbook into a fuller wedding memory album after the event.
What if photos start coming loose?
Use an appropriate photo-safe adhesive to reattach them rather than ordinary tape that may discolor over time.
Make it part of the story, not just another wedding detail
Modern Album Designs offers personalized guestbooks and album-style keepsakes designed for wedding messages, photographs, and memories. When choosing a format, start with the way you want guests to participate, then select the cover and page style that supports that experience.
Explore personalized wedding guestbooks, photo albums, and coordinated keepsakes at Modern Album Designs.
How to make the final choice with confidence
When two options both seem reasonable, choose the one that reduces friction on the wedding day and still feels useful afterward. Weddings contain many small decisions, so the most durable choice is often the one that is easy to explain, easy to use, and easy to store. Imagine the item at three moments: during setup, while guests or the couple are actively using it, and one year after the wedding. If it works in all three situations, it is probably a strong choice.
It also helps to separate “must have” features from “nice to have” features. Must-have features affect function: enough writing space, readable wording, accurate personalization, appropriate size, or practical storage. Nice-to-have features affect styling: a particular ribbon, decorative phrase, or accent. Make the functional decision first, then use design details to make the piece feel personal.
Finally, leave a little margin for real life. Guests write larger than expected, timelines run late, tables get moved, and keepsakes accumulate. Extra space, simple instructions, and a flexible format are rarely wasted.